In this tutorial I'm going to show you how to make a neck heat wrap, with a cover too!

First you will need:
1/2 meter of exterior fabric
1/2 meter of interior fabric (this will not be seen)
Thread
Three medium buttons
A sewing machine
Iron and ironing board
A funnel (not needed but helpful)
Rotary cutter and mat (or scissors)
Rice (I use basmati but you can you what ever you like, just not instant as it may cook!)
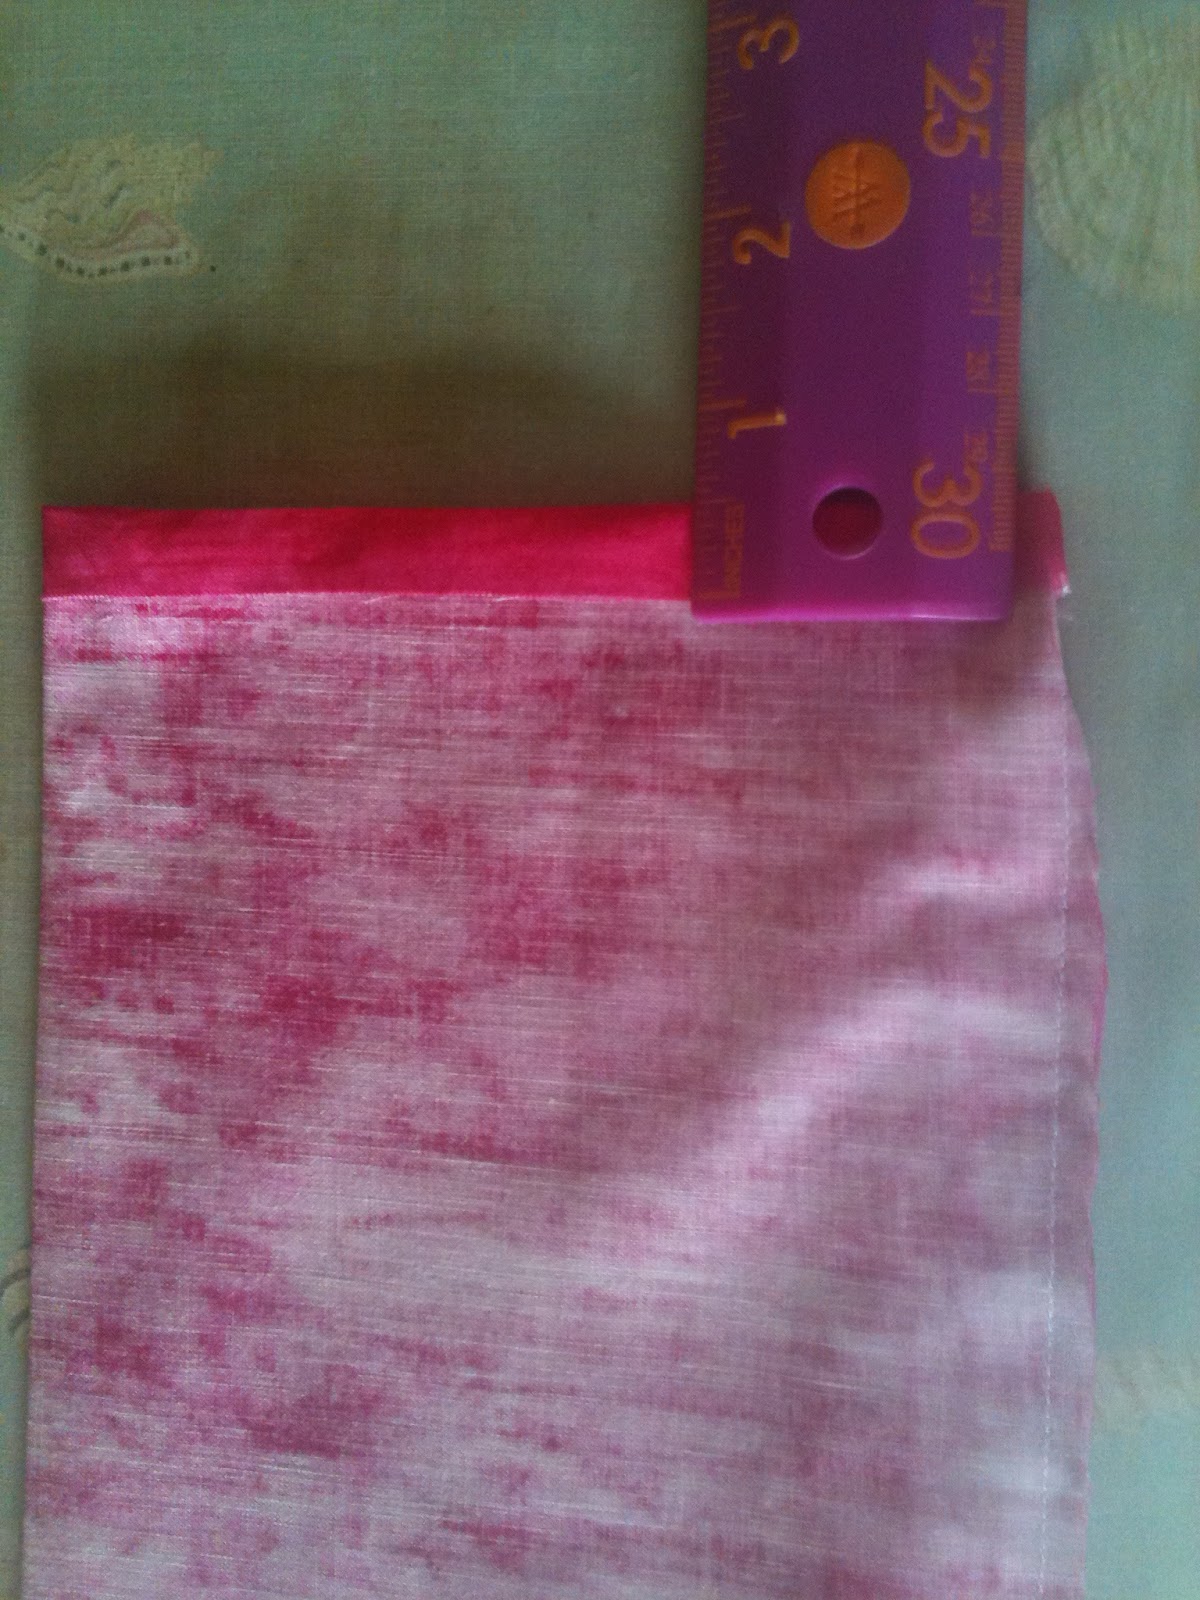
1. Cut a 12'' by 24'' square of the interior fabric.
Cut a 12.75'' by 25.5'' square of the exterior fabric


2. Take the interior fabric and fold it and half and iron. If your fabric has a right side like mine does then make sure right sides are together. Repeat this for the exterior fabric.


3. Sew along the long edge and one of the short sides with a 1/2'' seem (all seams from now on are assumed 1/2'')

4. Now turn the interior fabric so that the right side of the fabric is now on the outside

5. Now fold the interior fabric in half except for a 1/2 '' left at the open end of the fabric (seam allowance) and iron.

6. Fold the fabric in half again (still leaving the 1/2'' at the open end) and iron and then unfold. You will now have 3 creases which you will sew along to make compartments for the rice.

7. Now find a funnel (if you don't have one that's okay I don't either) and pour rice into the interior fabric bag you've made. I filled each of my compartments half full (that is half full to the lowest crease line) but you can fill yours more or less.
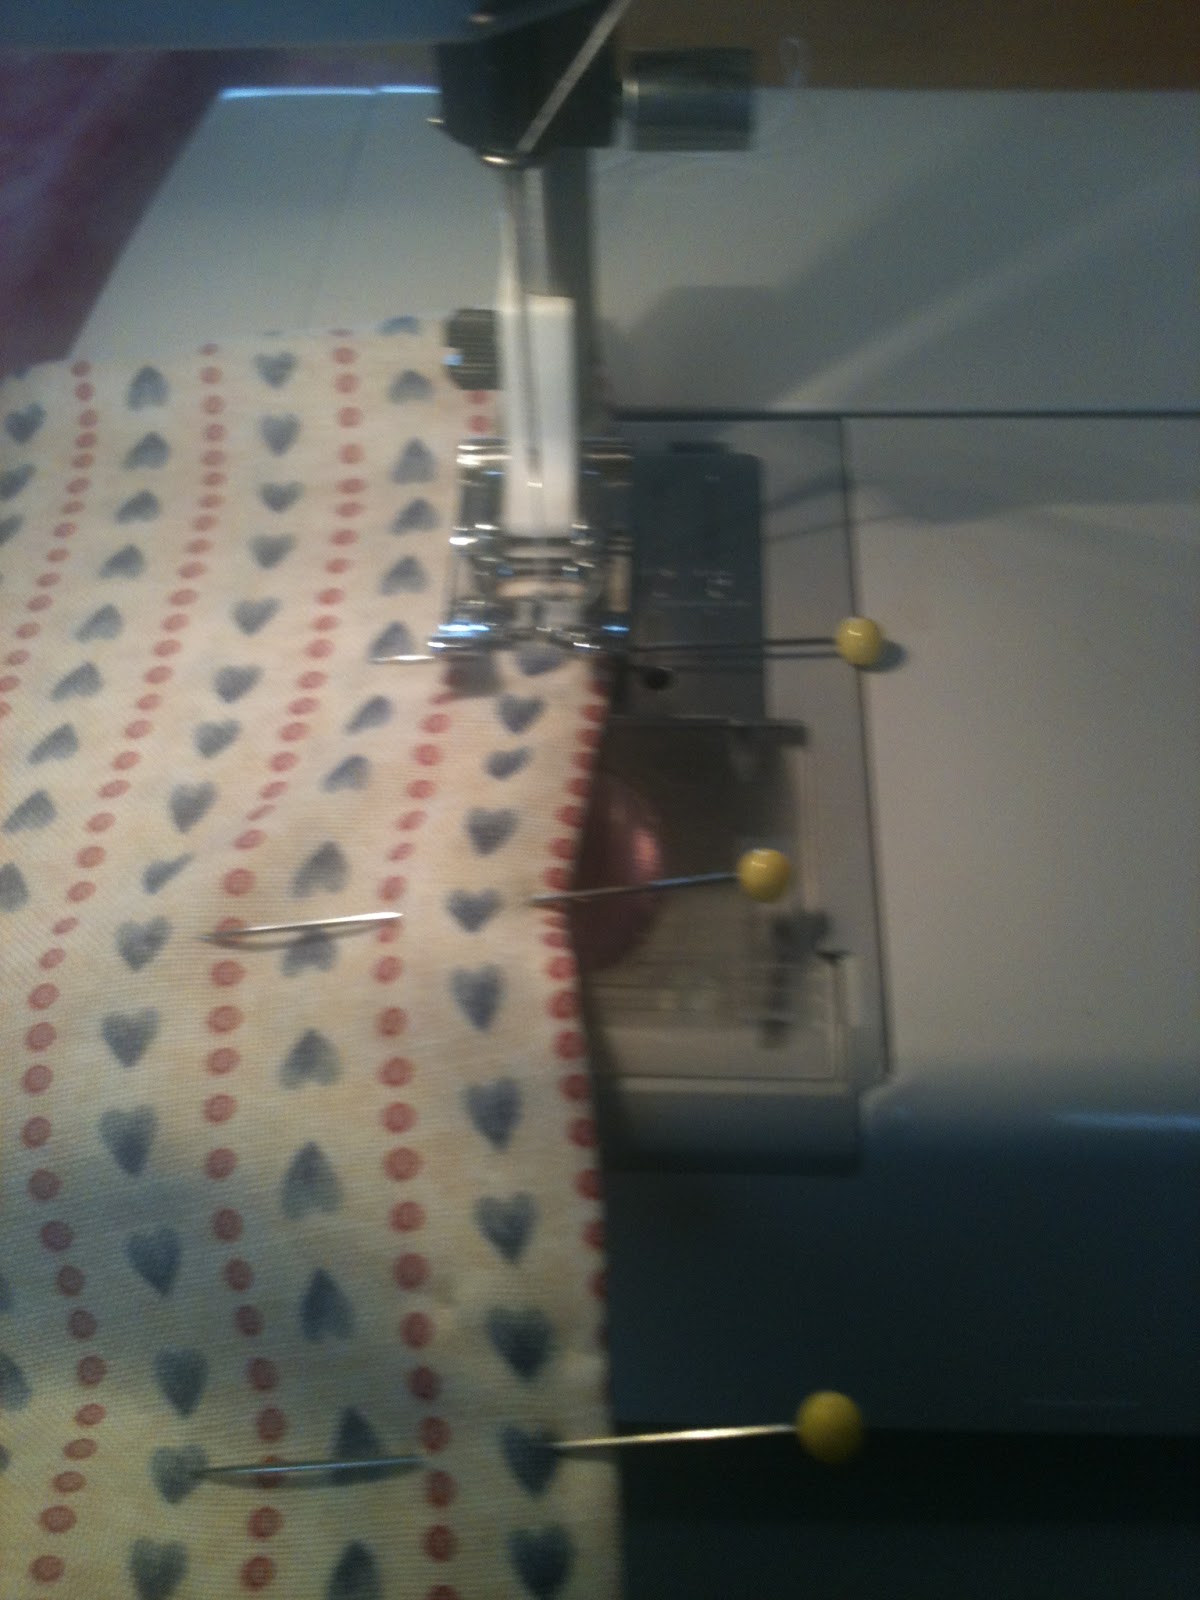
8. Then sew along the marked crease making sure that all of the rice is clear of the needles path! I double stitched this line but I'm probably just being safe.

9. Then repeat steps 8 and 9 for the next 2 compartments. Before filling your final compartment fold the edge of the open end in a 1/2'' and then pin and iron as shown below.


10. Now fill the last compartment pin the end shut and then sew the end shut. I triple stitched here just to secure it, as you don't want any rice to fall out!

11. You should now have something that looks like this:

12. Take your exterior fabric and sew the long edge and one short edge.

13. Trim down your seams so that you have a 1/4'' seam (this will reduce bulk). Also trim the corner

14. Now fold the open end a half inch in and iron this (it helps to pin here especially if you have iron safe pins or are every careful with your iron).
15. Fold the edge in again and pin then iron again

16. Now sew all the way around this edge (I used a straight stitch here but you may use a decorative stitch here too if your sewing machine has one you like!).

17. Turn the exterior bag right side out now.
18. Now take the interior heat bag that you made and insert it into the exterior bag you made to ensure they fit and to help with marking the coming button holes and button placements.

19. Now measure where your button holes will go, you want 3 evenly spaced out holes along one side of your open end of exterior fabric (be sure to place your buttons on top just to see how far up the bag they need to go so as not to hang off the side) as you can see where I've put mine below...


20. Now sew your buttons on the inside of your exterior bag so that they match up with the top button holes you made.

21. And now you should have a completed heated neck wrap! The cover is washable too!
Now just heat it in the microwave for a minute or two (make sure it's not too hot!) And you're good to go!
Thank you very much for trying my tutorial and I will be posting another one in the next two weeks so be sure to check back!

No comments:
Post a Comment